User-swappable detectors
The RaptIR+ microscope is compatible with several easily swappable detectors to help you optimize your data collection. Each available detector is recognized by OMNIC Paradigm software upon installation and loads its own factory preset settings, but you are free to create your own settings based on your analysis needs.
The detectors are universal and will work on any RaptIR+ unit without recalibration. They can also be swapped without shutting the power down.
Always use personal protective equipment (PPE) while handling the detectors.
The available detectors for the microscope are:
| Detector | Description | Spectral range |
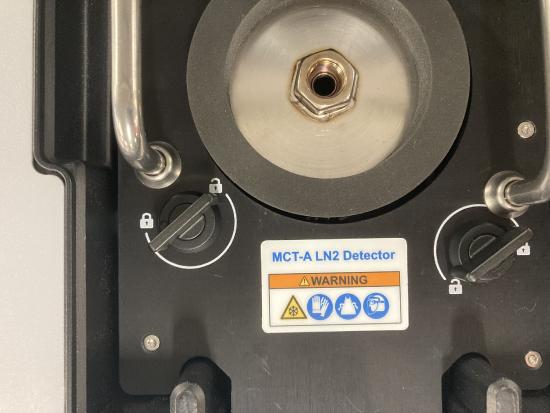
| MCT-A | Fast, high-sensitivity detector with limited spectral range. Requires liquid nitrogen. | 7, 800 - 650 cm-1 |
| MCT-B | Fast detector with 20-30% less sensitivity compared to MCT-A, but a wider spectral range for low-frequency vibrations, ideal for work with polymers and other inorganic materials. Requires liquid nitrogen. | 7, 800 - 450 cm-1 |
| InGaAs | Specialized near-infrared detector with high spectral range, ideal for pharmaceuticals. Does not require liquid nitrogen. Note that the InGaAs detector requires a CaF2 or XT-KBr beamsplitter configuration (preferably the former) in order to function correctly. This is configured at the time of purchase. | 11, 700 - 3, 800 cm-1 |
| TEC-MCT | TE-cooled, lower sensitivity detector. Does not require liquid nitrogen. Please allow up to one minute to bring this detector to temperature. | 7,800 - 1, 000 cm-1 |
 |
Avoid hazard. Make sure the detector dewars are empty before you move them. Do not attempt to remove a detector with any liquid nitrogen in the dewar. |
|
Avoid hazard. Do not let anything fall into the detector chamber when the lids are open. |
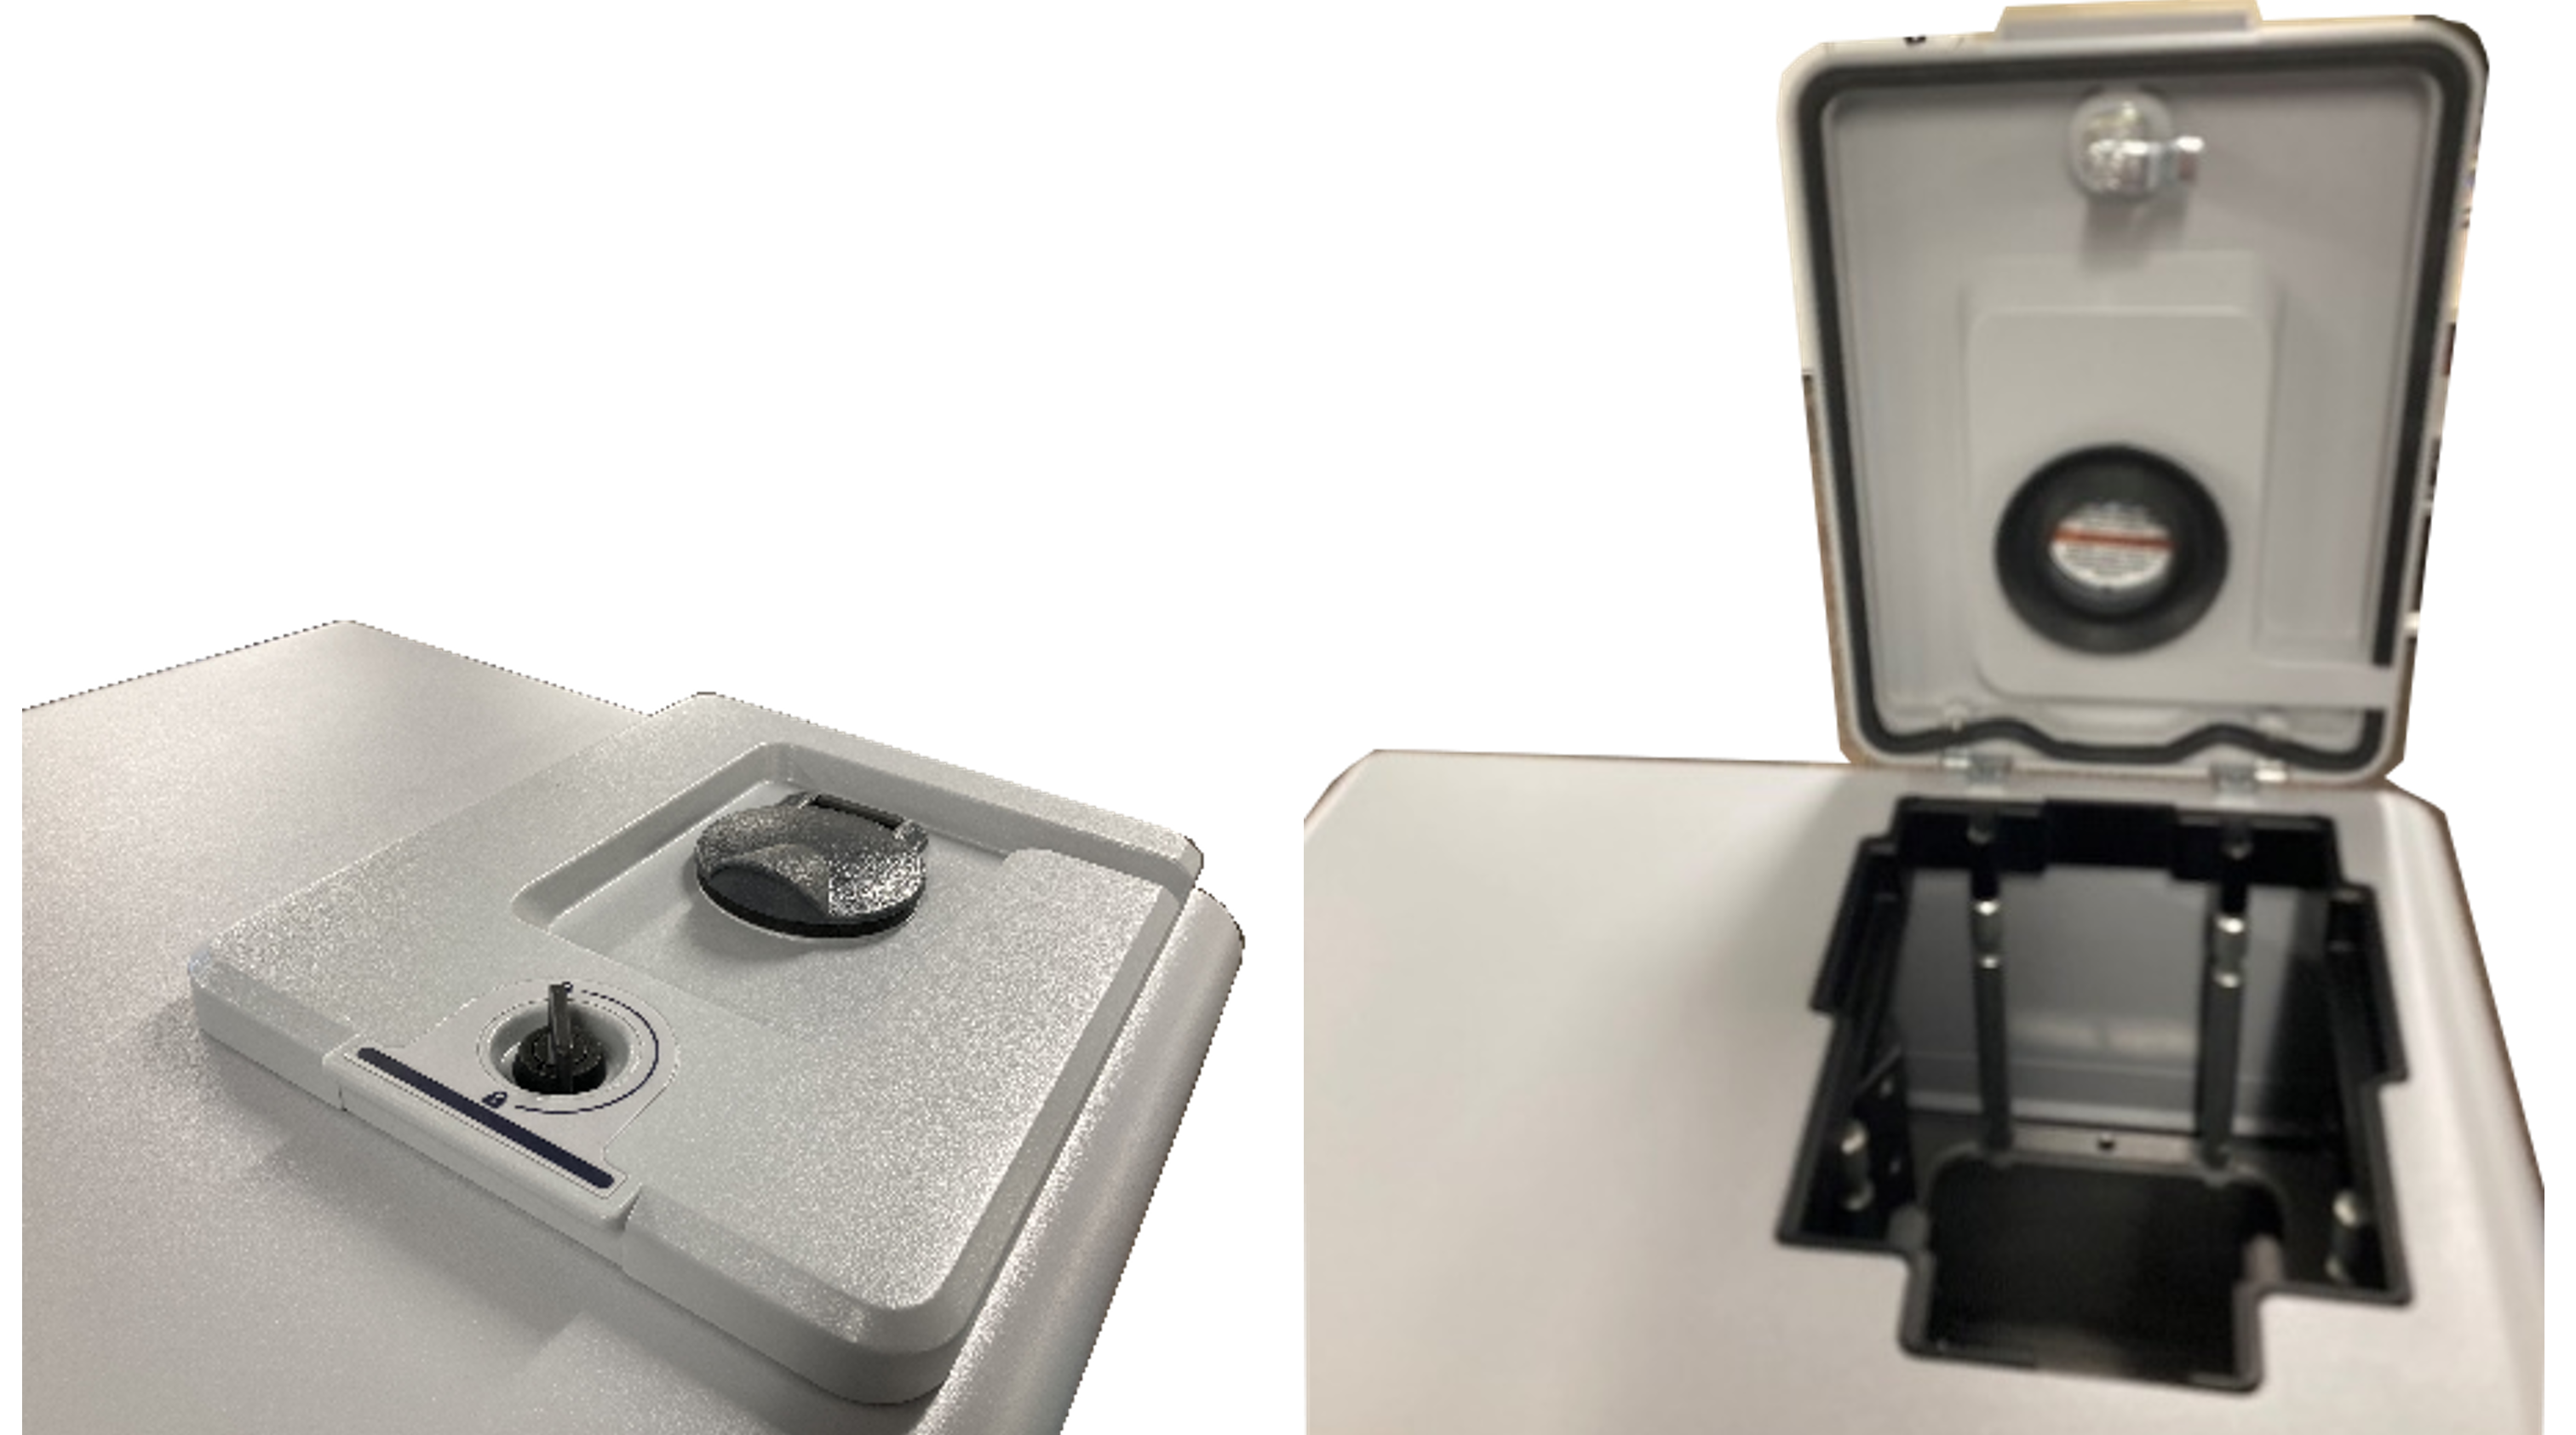
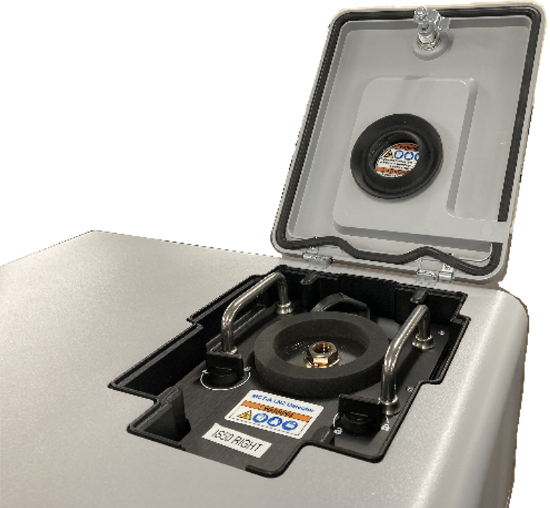
To install a RaptIR+ swappable detector
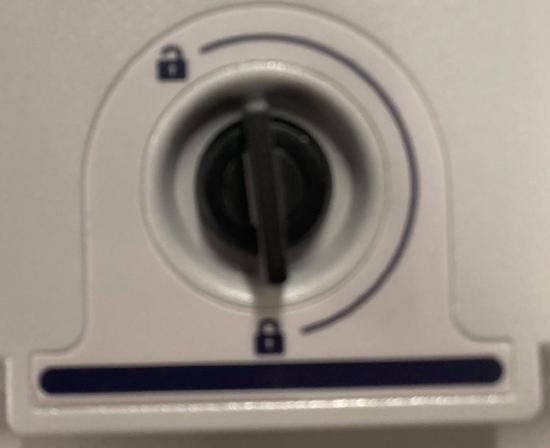
- Open the top hatch of the RaptIR+ microscope. If it is locked, turn the main latch to the “unlocked” position in order to open it. (Wait until the dewar is empty before removing the detector.)
If there is a detector already inside, uninstall it by following the instructions in To uninstall a RaptIR+ swappable detector.

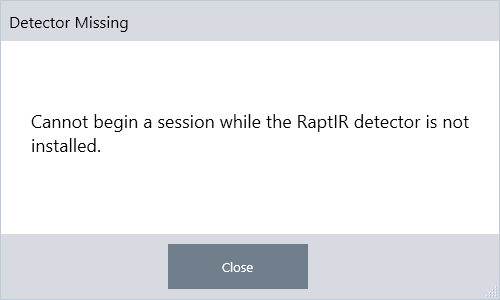
OMNIC Paradigm software checks for a detector in five second intervals. It is not possible to begin a data measurement session without a detector installed. If this occurs, a pop-up will appear as a warning.
- Lift your chosen detector by the handles and place it into the receptacle. Guide the detector in gently until you reach the bottom; do not drop it in. Available detectors include MCT-A, MCT-B, InGaAs, and TEC-MCT.
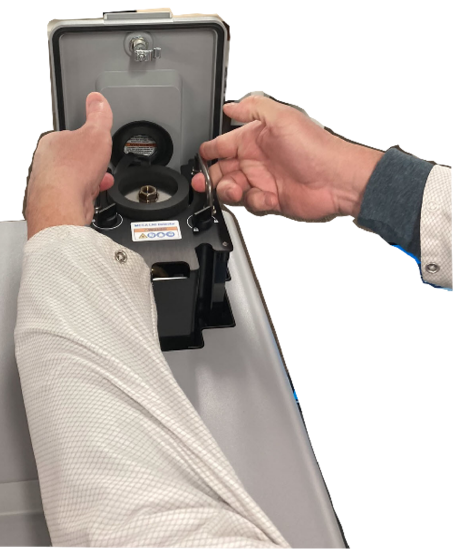
- When the detector is in, turn the two smaller latches to the "locked" position until tight to secure the detector onto the unit.
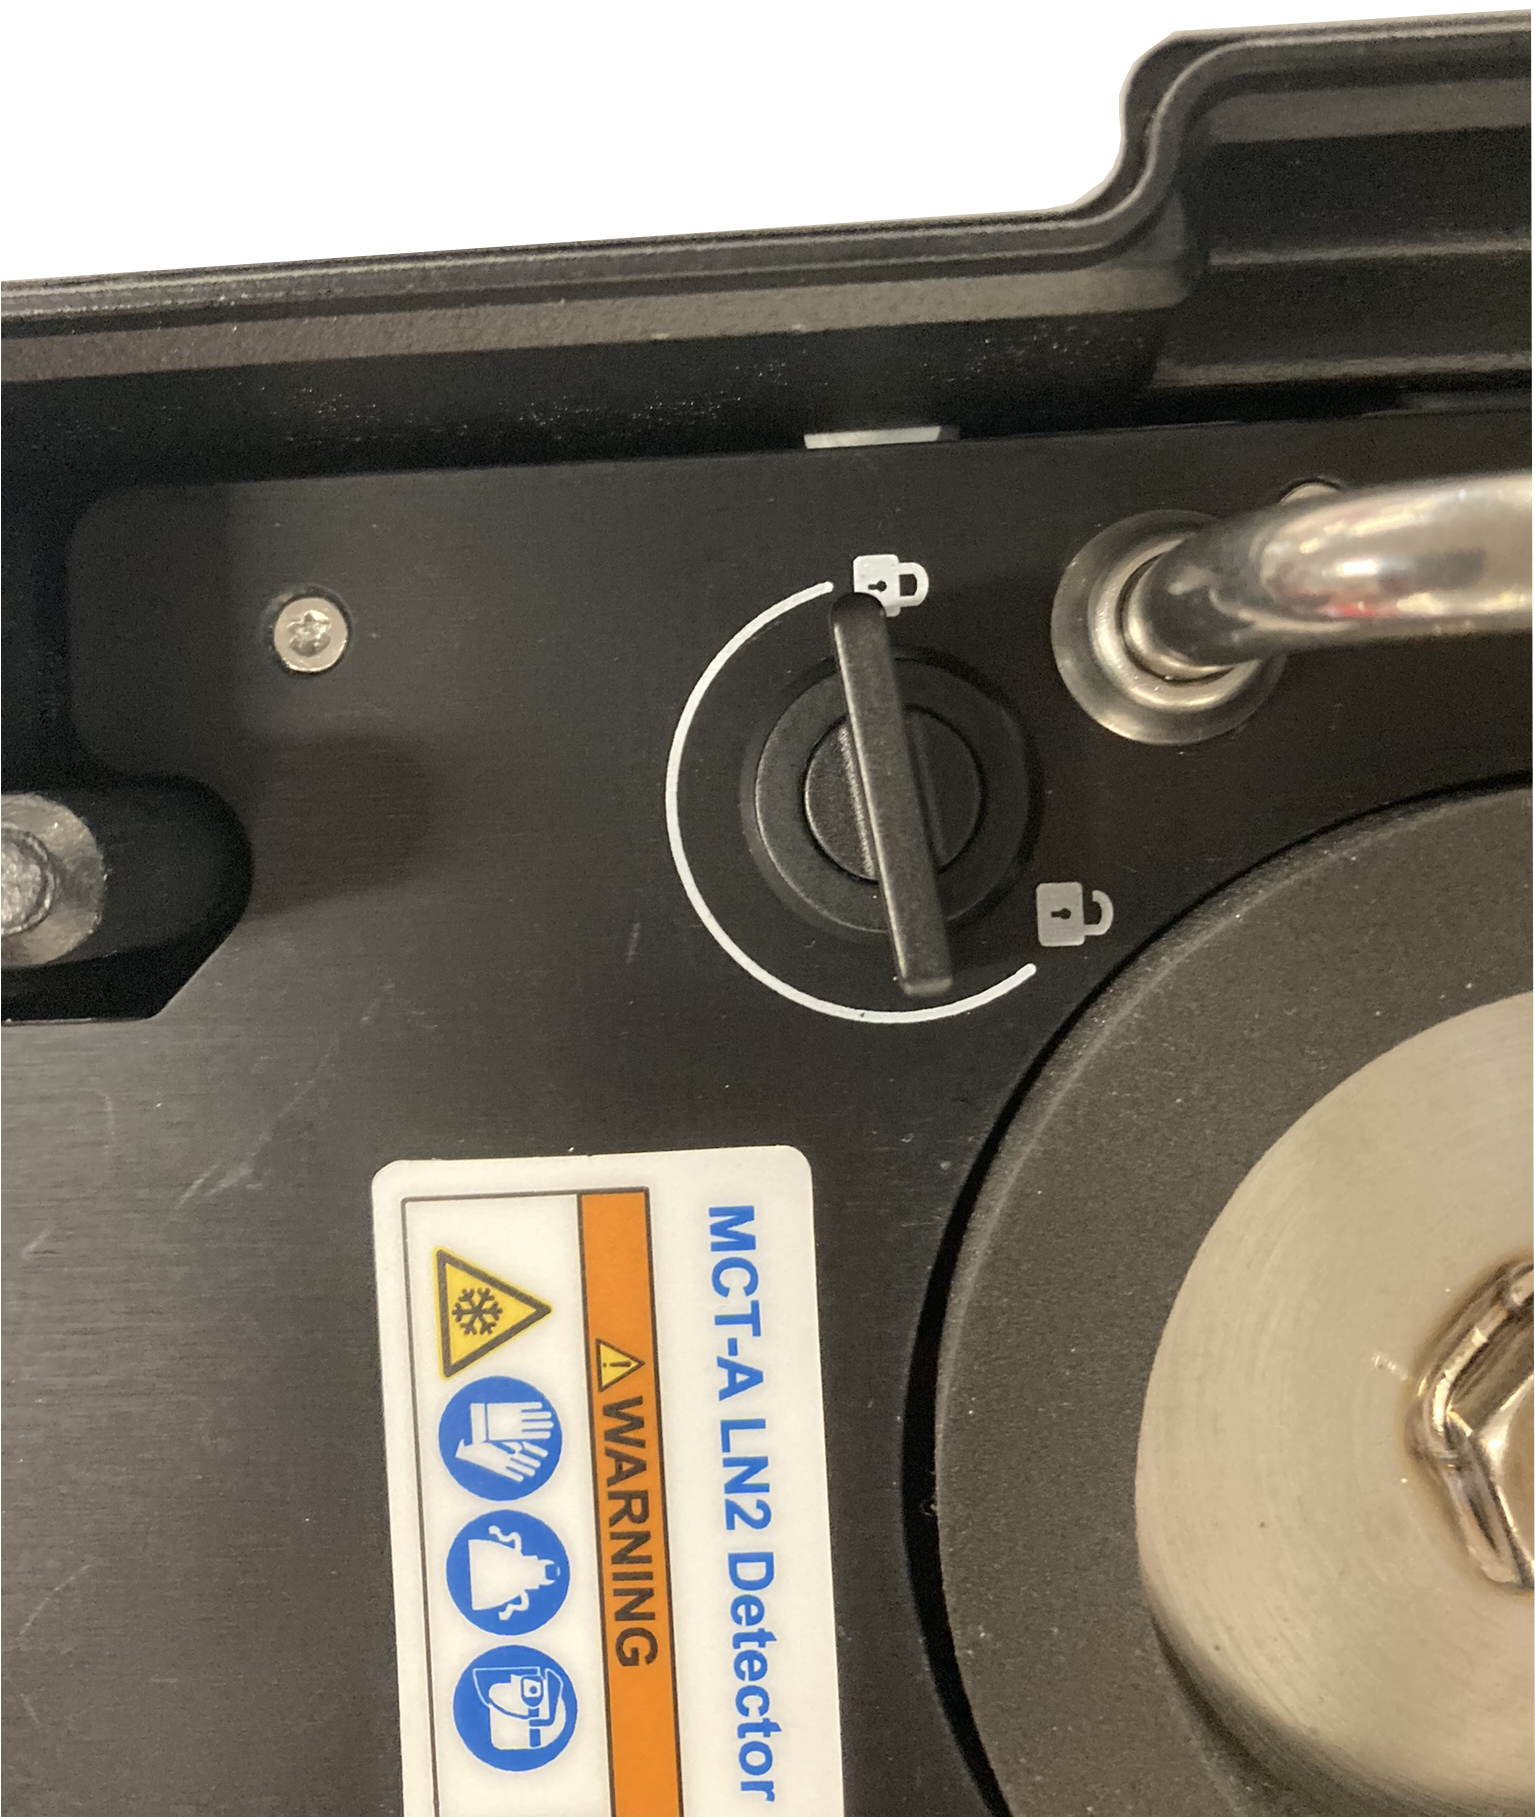
- Close the top hatch and turn the main latch to the "locked" position.
- (Optional) The top hatch includes a liquid nitrogen fill port for detectors that require it.
To fill the port, see Cool a liquid nitrogen detector.
To uninstall a RaptIR+ swappable detector
| Do not attempt to remove a detector during a data measurement session in OMNIC Paradigm software. Doing so will automatically close and interrupt your session. |
- Open the top hatch of the RaptIR+ microscope. If it is locked, turn the main latch to the “unlocked” position in order to open it. (Wait until the dewar is empty before removing the detector.)
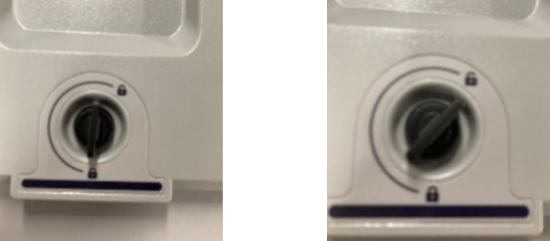
- Inside, turn the two smaller latches on the detector to the "unlocked" position.
- Lift the detector by its handles to remove it from the receptacle, then place it in a safe location on a flat, even, unmoving surface.
- Close the top hatch of the RaptIR+ microscope (or insert a new detector), then turn the main latch to the "locked" position.
To best protect your detectors, store them in their originally supplied packaging.
Optimizing the swappable detectors
Optimization of your detectors is important for ensuring the quality of your spectral data. OMNIC Paradigm software will alert you with a yellow system status icon when optimization is recommended. Optimization will set the system gain to improve sensitivity while ensuring that the signals do not saturate the detector.
If you are using a liquid-nitrogen-cooled detector, wait for it to cool before performing optimization steps. See Cool your detector for further details.
Optimization should be done with the correct default source and beamsplitter installed. If the optimization fails because the correct configuration is not available for other reasons, it does not necessarily indicate a problem or prevent the use of your system.
Click the status icon in the upper-right hand corner of the screen to see the yellow status details. If you see a yellow icon next to Not optimized, you should optimize your detector.
To optimize your detector
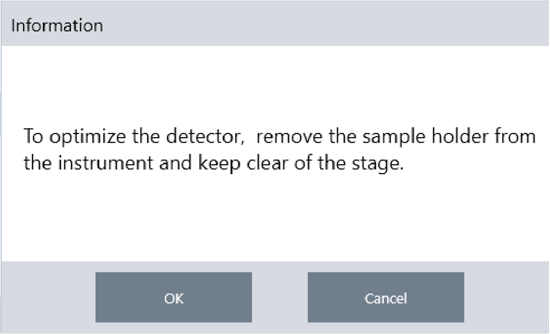
- Go to Acquire Data > Diagnostics > Optimize Detector.
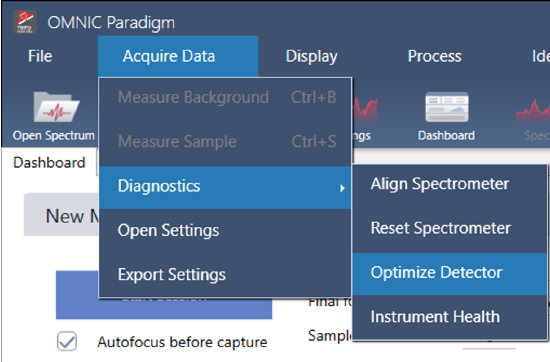
- Follow the on-screen prompt and wait for the process to complete.