Back up and Recover Your Data
Before you start collecting data, you should take a few precautionary steps to protect your system from potential problems in the future. Windows 10 includes several built-in tools for backing up and recovering your data.
IMPORTANT! To ensure that you can recover any data in the event of damage to the hard drive or operating system, create recovery media, create a system image, and establish procedures for backing up your data.
Create a Recovery Drive
Create a recovery drive so that you can access advanced startup options in Windows 10—such as System Image Recovery, System Restore, and Startup Settings—even if your installation of Windows becomes damaged.
Required Materials
- FAT32 formatted flash drive with at least 8 GB of storage
|
Everything on the drive will be deleted during this process. Before you proceed, make sure you have backed up any files you wish keep. |
To create a recovery drive
- Insert the flash drive in one of the USB ports on the side of the spectrometer.
-
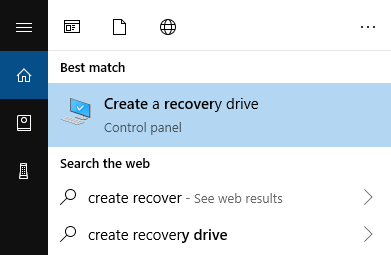
In the Windows 10 search box in the taskbar, search for “Create Recovery Drive” and select Create Recovery Drive.
- When asked to allow changes to your device, select Yes.
- De-select “Back up system files to the recovery drive” and click Next.
-
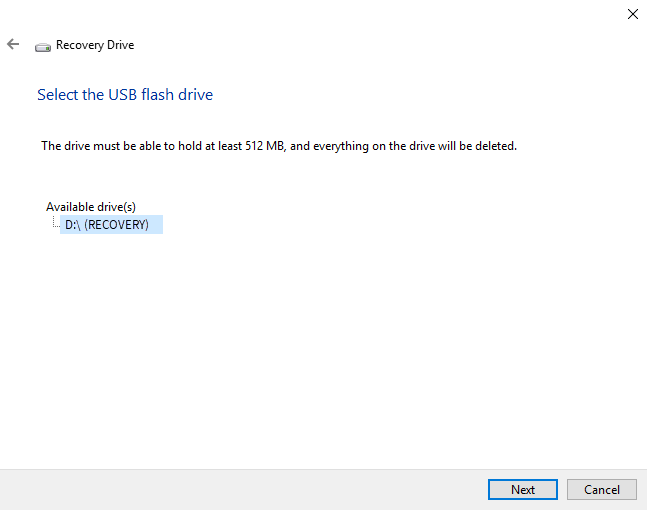
Select your drive from list of available drives and click Next.
- Click Create. When the process is finished, click Finish to close the window.
- Safely remove the flash drive and store it in a safe place. It’s a good idea to label the drive as Summit Recovery Drive.
For more on creating recovery media, see Microsoft’s online help.
Create a System Image
A system image is a snapshot of your entire system, including your data and files, installed applications, and other settings. In case of complete hard drive or operating system failure, you can use the system image to restore your device to the state it was in when the image was created. It is up to you how often you want to update the system image, but it’s a good idea to keep an image of a clean installation from the first time you set up your instrument.
Depending on how much data you copy to the system image, the process may take a while. If you are copying a large amount of data, it may take more than an hour for the process to complete.
Required Materials
- NTFS formatted SSD
To create a system image
- Connect your SSD to one of the spectrometer’s USB ports.
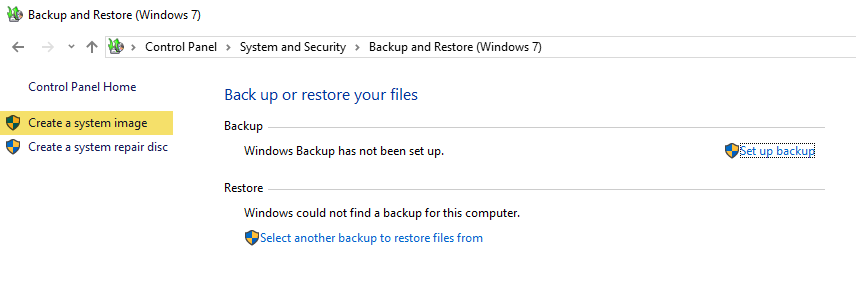
- In Windows 10, open the Control Panel and select Backup and Restore (Windows 7).
-
In the left panel, select Create a system image.
-
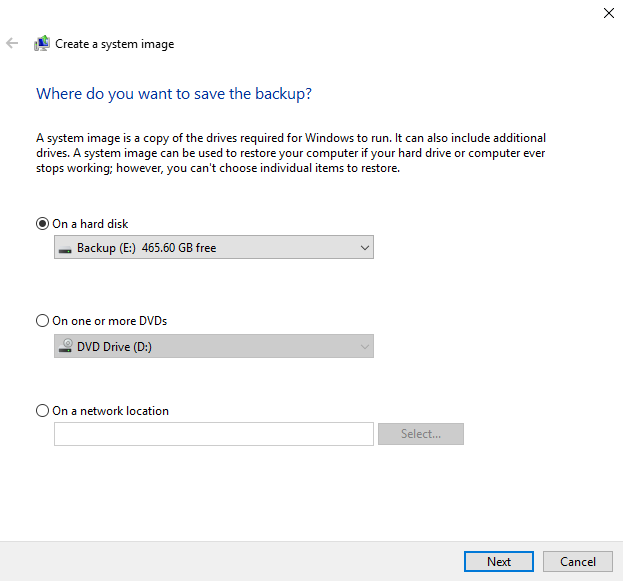
Select On a hard disk and select your SSD from the list. Click Next.
- Confirm the backup settings and click Start backup.
- When asked “Do you want to create a system repair disc,” click No.
- Click Close and safely remove the SSD from the Summit. Label the drive as Summit Recovery and store it in safe place.
Restore Your System
In case of operating system failure, use your recovery drive and system image to restore your system.
Required materials
- USB recovery drive
- SSD with your system image
To restore your system using the recovery drive and system image
- Turn off the Summit spectrometer.
- Connect an external keyboard to one of the Summit spectrometer’s USB ports.
- Connect the USB recovery drive to one of the USB ports.
- Turn the system on.
-
When the screen shows the Thermo Scientific splash screen, tap “Esc” on the keyboard several times to open the system BIOS.
If a popup dialog shows “Quit Without Saving?” use the arrow keys to select No.
- Using the arrow keys, navigate to the Save & Exit tab.
-
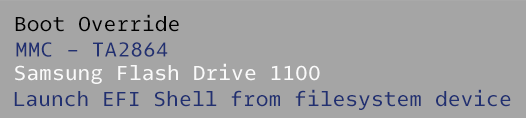
Navigate to the Boot Override section and select your recovery flash drive. Hit Enter to boot to the recovery image.
- When the “Choose your keyboard layout” screen appears, remove the recovery flash drive from the USB port and insert the system image SSD.
- Select your preferred keyboard layout.
-
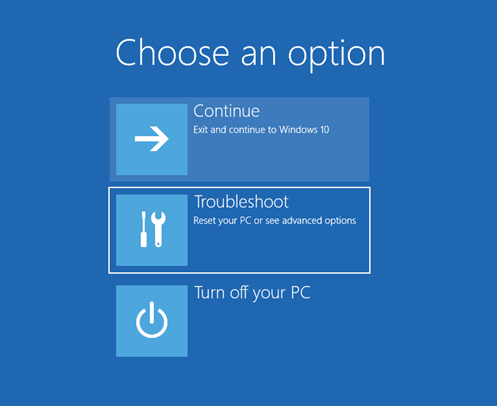
In the Choose an Option screen, select Troubleshoot.
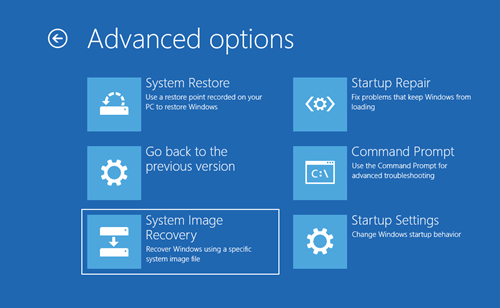
- Select Advanced options.
-
Under Advanced options, select System Image Recovery.
- Select Windows 10 as the target operating system.
-
In the “Select a system image backup” window, use the latest available system image or select another system image. Click Next.

-
Click Next to leave additional restore options in their default state, and click Finish to restore the system image. Click Yes to confirm.
Restoring takes about 15 minutes, and the system will automatically reboot when complete.
When the system is back on, safely remove the SSD from the spectrometer and store both the recovery drive and system image SSD in a safe place.
For information on restoring the system to the image, see Microsoft’s online help.
Back Up Your System Data
In addition to creating recovery media and a system image, you should regularly back up your data. Windows 10 features several options for backing up files, including the File History tool. The information technology (IT) personnel at your organization should determine which backup methods are best for your organization’s needs.
Attachment(s):
| File | Last Modified |
|---|---|
| select system image.png | July 22, 2022 |
| boot system image.png | July 22, 2022 |
| boot troubleshoot.png | July 22, 2022 |
| boot from recovery image.png | July 22, 2022 |
| create system image 2.png | July 22, 2022 |
| create system image.png | July 22, 2022 |
| Select recovery drive.png | July 22, 2022 |
| create recovery drive.png | July 22, 2022 |