Chiller Pressure Adjustment
Issue
Chiller is running, but making a loud noise
Environment
- TF900 Chiller
- TF2500 Chiller
Resolution
- Obtain an adjustable crescent wrench and a flat head screw driver
- Press the down arrow on the front of the chiller and note the current pressure reading, shown in Figure 1
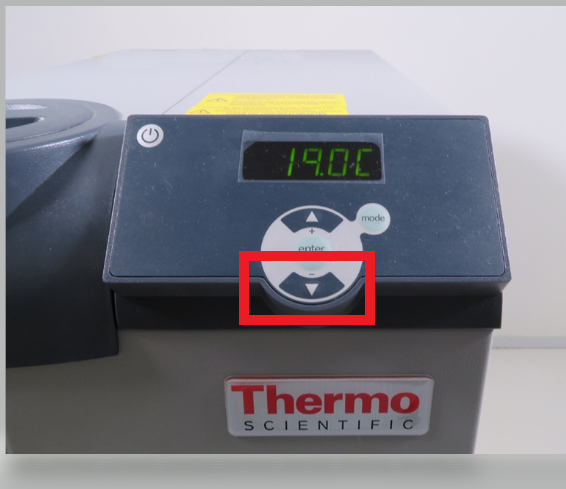
Figure 1: Press down arrow to show pressure - Locate the Adjusting Screw on the back of the chiller, see Figure 2
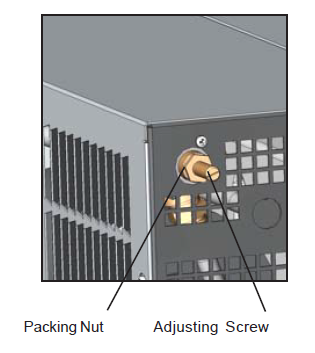
Figure 2: Lock nut and screw located in the top right on the back of the panel - Loosen the Packing Nut on the back of the chiller in the top left corner
- Use a flat head screw driver and turn the Adjusting Screw counterclockwise to decrease the pressure OR clockwise to increase the pressure until the pressure reading on the front display panel is at the operating flow for the instrument the chiller is supplying water to.
- Tighten the Packing Nut to keep the set screw in place.
Attachment(s)
| File | Last Modified |
|---|---|
| Adjustment Screw.png | March 14, 2023 |
| Pressure screw.PNG | March 14, 2023 |
| Down arrow.PNG | March 14, 2023 |