ATR Measurements
With the optional slide-on attenuated total reflection (ATR) attachment, you can analyze highly infrared-absorbant or hard-to-prepare microscopic materials, often with little or no sample preparation. Examples of these materials include polymers, coatings, rubbers, coated papers, and biological materials.
Applications of ATR microscopy include:
- Analyzing the surface of a sample.
- Analyzing highly-absorbing materials and the surfaces of thick samples.
- Analyzing surface coatings.
- Analyzing surface defects, inclusions, or degradation.
Installing a slide-on ATR attachment
The slide-on ATR attachment fits into the 15x objective and has two positions:
- Slide half-way / first stopping point to see through. Use with camera mode to view the sample.
- Slide all the way to second stopping point for ATR.
A sensor on the microscope detects when the ATR attachment is installed, and the software prompts you to install or remove it as needed.
Measure using ATR
To use the ATR crystal attachment for your measurement, you will install the crystal attachment, prepare your measurement settings, and measure the sample.
To measure using ATR
- On the dashboard, select ATR from the Analyze Using list.

- "Capture a mosaic".
Once you have captured a mosaic, you can measure the background with the crystal installed and measure you sample using the area or points tools, just like a standard reflection measurement. In general, the default ATR Contact. - Optional: Review and edit the ATR Contact settings.
-
In the Session view, click ATR Contact to view the ATR settings.
Setting Description Target pressure This is the target pressure that will be applied during measurement. Click and drag the slider or enter an exact value. Release distance The vertical distance that the stage moves once the ATR contact is released. A larger distance provides more clearance but will cause the ATR measurement to take longer, since the stage will move farther at every point. Press Contact to test the contact pressure
Press Release to release contact
-
-
Analyze areas, lines, and points or Analyze particles. The software prompts you to insert or remove the ATR crystal attachment as needed.
ATR clean check
Running a manual "clean check" in OMNIC Paradigm software to check the cleanliness of an ATR crystal after completion of an experiment. A comparison is made between a clean sample and a contaminated one, which is captured via peaks in the spectra. As this is a manual process, the ATR clean check involves certain necessary steps that would not be normally required. An eggshell business card would be an adequate sample for this type of check.
The process involves collecting a spectrum of your sample, then releasing the pressure (by raising the crystal off of the sample) and measuring another spectrum. If the crystal has picked up contamination from the sample, such as oil or adhesive residue, the spectrum of the crystal will show residual peaks. This then requires cleaning the crystal.
To run an ATR clean check
-
Place your sample and set your parameters (Analyze using should be set to ATR).
-
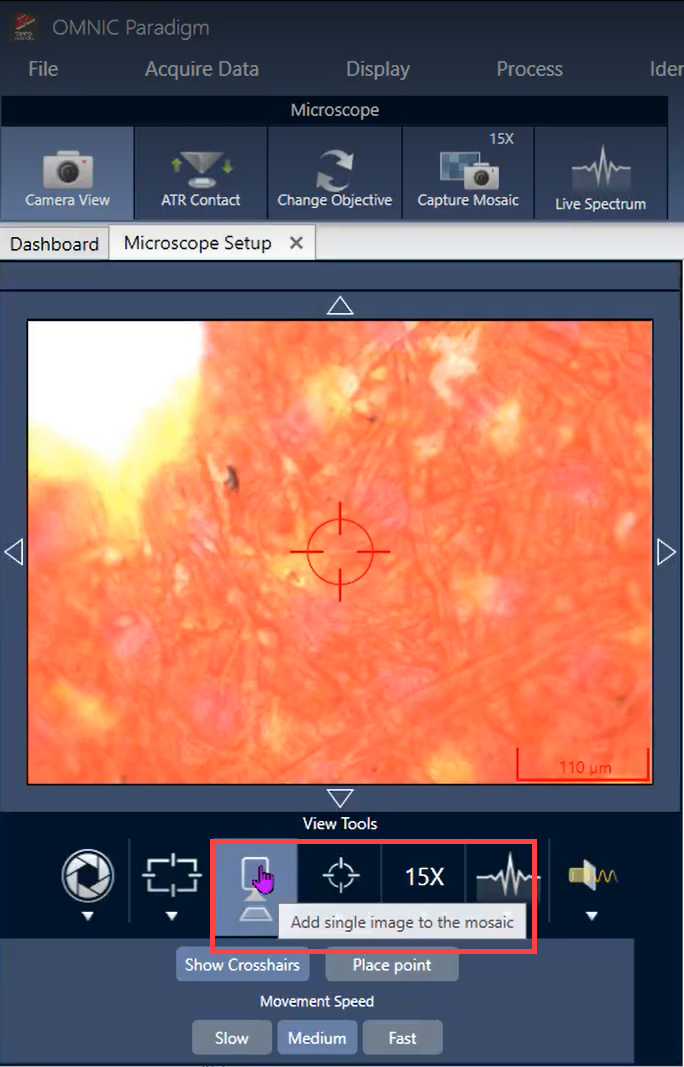
Go to Microscope Setup and select Camera View. You will see a live video of your sample. (Do not start a session yet).
-
Select Change Objective to set it to 15x.
-
Under View Tools, select the middle icon and choose Show Crosshairs to aid in seeing your target.
-
Capture a single-shot mosaic.
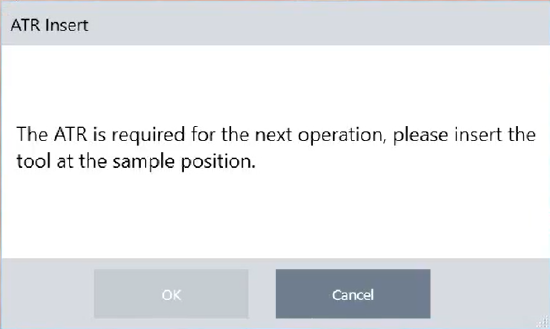
- Close Camera View and go to ATR Contact.
A message appears at this point if the ATR crystal attachment is not installed. If this occurs, simply insert the attachment and select OK (the option will be unavailable until the attachment is inserted).
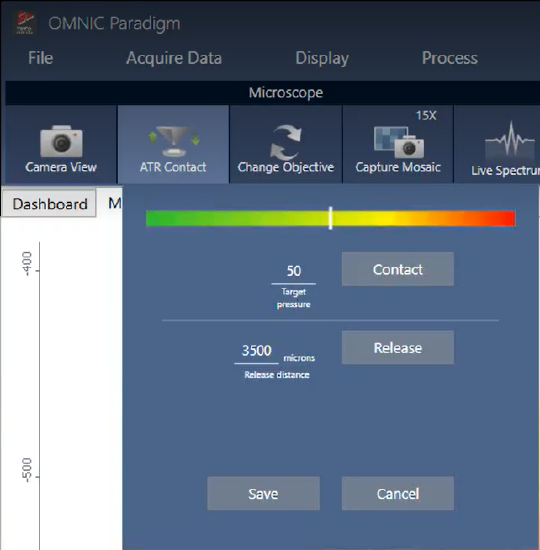
- Under the ATR Contact menu, set the target pressure and release distance. The suggested settings for the purposes of the check are a target pressure of 50 and a release distance of 3500 microns, but you are free to set different values if preferred. A large release distance ensures that the crystal comes clear of the sample.
- Measure a background spectrum. You can do this using the Background tool in the floating toolbar. Accept and measure the background as normal, selecting Accept Background and Measure Background from the side menu.
- When the background is complete, select Contact under the ATR Contact menu to manually bring the sample into contact with the ATR. This does not move the stage; the ATR crystal should not be in contact with the sample while collecting the background.
- Select Measure Now to measure the spectrum.
The Measure Now function stores your data under Measurements in the OMNIC Paradigm software dashboard, where you are able to load and review them.
- Select Release under the ATR Contact menu to release the crystal, then select Measure Now again to obtain a measurement of the crystal itself.
Examine the spectrum from the released crystal. If there are peaks present, it indicates contamination from the sample. Shown here is a residual oil. If the spectrum is essentially flat, you can continue. Otherwise, you should clean the crystal before proceeding.
