Fluorescence illuminator
Your microscope is compatible with a fluorescence illuminator designed to locate and illuminate portions of a fluorescent sample that are of interest.
The fluorescence illuminator is to be used to locate points of interest in a sample. It is not, in itself, used to collect or measure data.
The fluorescence illuminator can be installed by a Thermo Fisher representative. For more information, contact us.
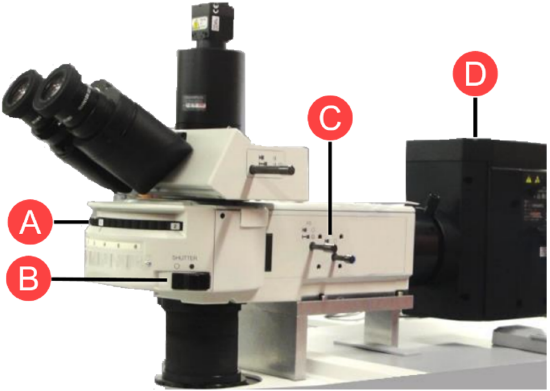
| A | Rotating mount: Used to switch to different illumination frequencies if needed. |
| B | Shutter: Switch on or off to block the light or allow it through. |
| C | Optics and apertures: May also be used to manipulate the flow of light. |
| D | Illuminator lamp: Positioned near the back of the instrument. |
To illuminate your sample with the fluorescence illuminator
- Center your sample using the OMNIC Paradigm software microscopy view.
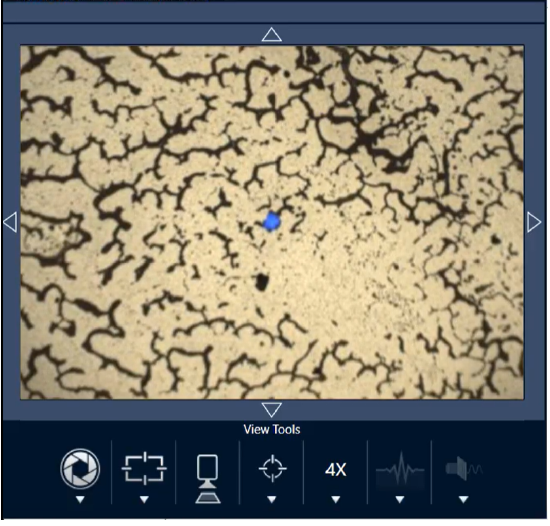
Start with a 4x objective at medium Joystick speed for a wider area view. This allows you to find the sample's fluorescent locations more easily.
Figure: Centered sample (dyed fluorescent polystyrene beads) using 4x objective and blue excitation. One bead is seen fluorescing.
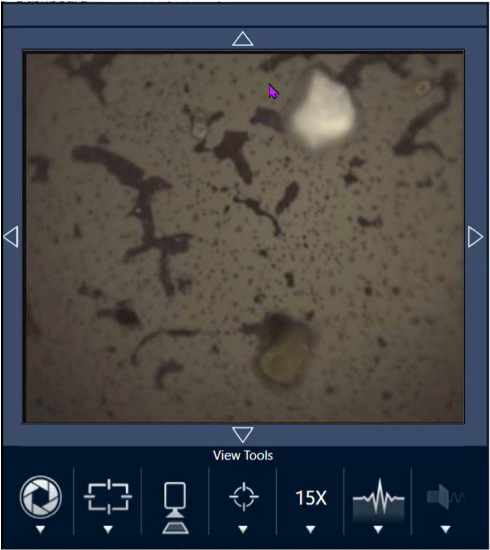
- Once you have centered your target, select Change Objective to switch to the 15x objective. You will see a much brighter image of your sample and points of interest.

- Focus on the sample as needed. For more information, see Move the stage and bring the sample into focus.
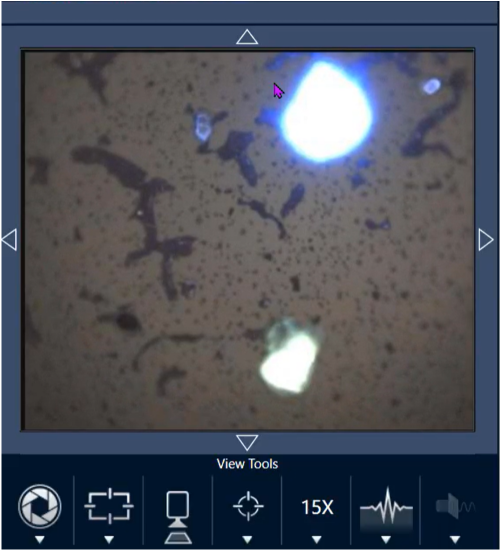
The bead in the example is now much brighter. No change was made to the fluorescence illumination. A second nearby bead is also visible now.
- Close the shutter (shutting off fluorescence) when you are ready to measure data. You may use the microscope's regular illuminator as needed at this point.