Single-point data measurement
Single-point data measurement
Single-point data measurement is not available for ATR mode in OMNIC Paradigm software version 2.3 or lower.
You can use the Measure Now button in OMNIC Paradigm software to measure data at the point currently shown in the live camera view. The new measurement is then automatically added to the measurement list on your dashboard.
There is no need to use the Start Session button to measure single-point data. Instead, set up your session as normal and go to the Microscope Setup tab.
To measure single-point data
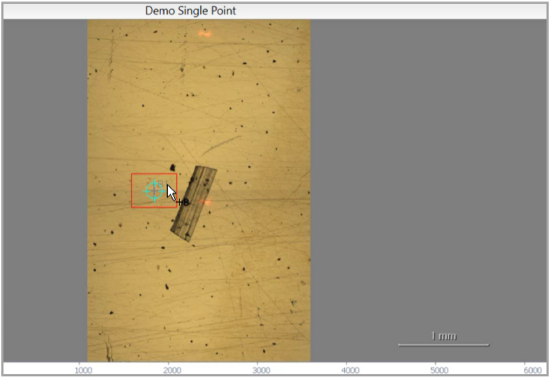
- Select Camera View and center your sample, either by using the Joystick or eyepiece or by using a previously captured mosaic.
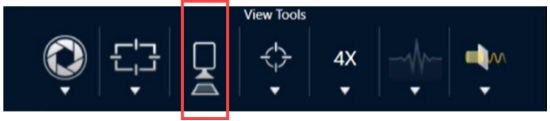
- Select the single image icon under the View Tools menu to collect a single-shot mosaic using a 4x objective.
- Select Change Objective to switch over to the 15x objective.

- Select the Background button.

Using single-point measurement, the software will lay down whatever background point is centered on a reticle.
You may freely move the camera and click on the screen to place or relocate your desired background point.
When you are ready, select Accept Background.

- Select Measure Background and wait for the process to complete.
- Move your camera view back onto your sample. You can do this by using the Camera View arrows.
- Select Measure Now to measure your sample data.

OMNIC Paradigm v2.3 known issues: -The software displays all results for each scan as a stack of 10. The result that is labeled "Complete" is the correct one. -Data measured is stored under the measurement, nor the session. As such, trying to reopen the same session again will yield no data. The data must be accessed directly.