Replacing the Analytical Column every 2000 injections
Issue
How do I replace the analytical column?
Environment
- LX-2
- LX-4
- TLX-1
- TLX-2
- TLX-4
Resolution
1. Turn off the column heater as follows and allow the column heater to cool to room temperature:
a. Open the Direct Control window.
b. Click a column heater for the appropriate channel.
NOTE: You Direct Control view will be different depending on your hardware configuration (MultiSLEEVE or TCC module heater.)
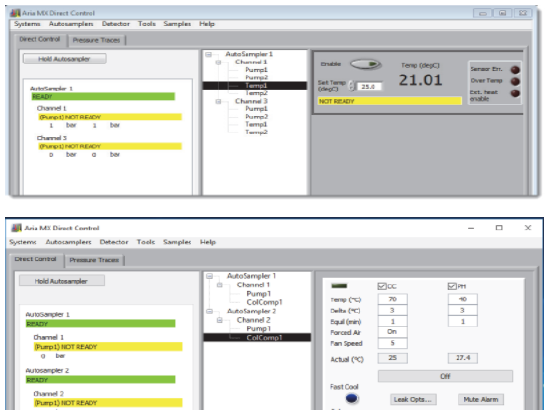
c. Do one of the following for your column heater type:
- (MultiSLEEVE) Click the Enable button in the upper-left of the right pane so that it shows dark green.
- (TCC module) Click the On button so that the On/Off indicator in the upper-left of the right pane turns dark green and the On button changes to the Off button. The column heater is turned off.
d. Repeat step b and step c for the second column heater if applicable.
2. When the column heater has cooled, do one of the following:
a. (MultiSLEEVE) Unwrap the column heater from the column.
b. (TCC module) Open the TCC door.
3. Replace the column as follows:
a. Loosen the knob on one end of the column until the fitting disengages from the column. Do not use tools on the fittings.
b. Loosen the fitting on the other end of the column while holding onto the column.
c. Remove the column and dispose of the column according to your laboratory’s standard operating procedure.
d. Remove the end cap from one end of the new column and insert the column fitting.
e. Tighten the screw. Avoid overtightening.
f. Remove the end cap from the other end of the column and insert the column fitting.