Prepare Measurement Settings
OMNIC Paradigm software has basic and advanced settings for how you view and measure samples with your FTIR microscope.
Basic settings are used frequently and determine the type of analysis you are performing.
Advanced settings need to be adjusted less commonly and relate to how the instrument hardware is configured and how the data is processed to generate the sample spectrum.
Basic settings
Find the basic settings in the New Measurement pane after you set your sample location to the FTIR microscope.
Basic measurement settings for microscopy

| Setting | Description |
|---|---|
|
Autofocus before capture |
Select to automatically bring the sample into focus when starting the session. If you do not select this option, you should either manually bring the sample into focus using the optional joystick and eyepieces before starting the session, or change your mosaic capture setting to Custom Mosaic. After starting the session, open the Camera View and bring the sample into focus manually before capturing a mosaic. |
|
Session name |
The name of the session data. This name is used in the saved data and, if you have Security Suite software installed, in the audit trail. The default name is the date and time the session was started. |
|
Final format |
Determines the units used for the collected data. You can convert to another Y-axis unit after collection by using the options in the Display menu. |
|
Sample scans |
The number of scans collected at each sample point. Fewer scans results in faster data collection but potentially noisier data. |
|
Mosaic capture |
Specify a mosaic type to capture automatically when you start the session. To start the session without capturing a mosaic, select <No Mosaic>. Extremely large mosaics require a large amount of hard-drive space to store and are time consuming to collect. To save disk space and measurement time, capture a mosaic of only the portion of the sample that you need for your analysis. |
|
Camera profile |
Select a camera profile to best fit the type of sample that you are analyzing. Camera profiles set the brightness, contrast, white balance, and more to provide the best image of the sample. Many samples are prepared on highly-reflective backgrounds but are not highly reflective themselves. Make sure you select an option that best fits the sample surface and the area of interest.
Finding the right camera profile To check if the camera profile setting is right for the sample material, bring the sample image into focus and adjust the illumination either automatically or by using the manual controls. The illumination number should be between 15 and 70.
|
|
Tag |
Add a tag to the session. Tags are useful for finding and filtering your saved sessions later. |
|
Resolution |
Like the resolution of a photo or video, a better resolution will mean finer detail in your spectral data. For example, a better resolution will distinguish between two very close peaks while a poor resolution might combine them. A smaller value results in a better resolution but also takes longer to measure. |
|
Profile |
A default profile to use to display the chemical data after measuring a area, line, or set of points. You can change the profile after measuring data. For more on each profile, see Apply Profiles. |
|
Analyze using |
The technique used for measuring the sample. The selected technique determines what settings are available during the session.
|
|
Analyze particles |
Select to analyze particles. If selected, particle analysis tools are available in the session view. This option must be selected before you start a session. |
| Enable Polarizer acquisition | Select to use the polarizer and analyzer during data collection. You can also enable the polarizer during the session. |
| Step size | The distance that the stage moves between sample points, in micrometers. A smaller step size measures the sample at more points in an area but takes longer to measure and requires more space to save. |
| Aperture height and width |
The aperture is used to exclude unwanted parts of the sample from the measurement and to prevent unwanted light from reaching the detector. Imagine the aperture as a rectangular window that the infrared beam passes through during the measurement. You can also set the aperture height, width, and rotation angle in the camera view. |
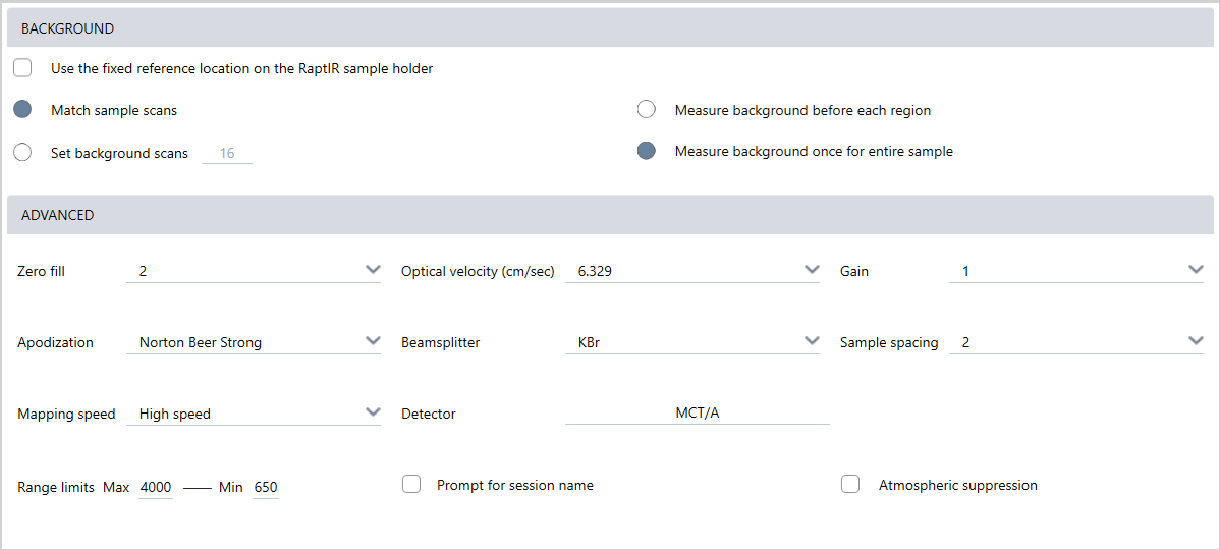
Background and advanced settings
The background and advanced settings areas provide additional options for how your data is collected and processed.
| Setting | Description |
|---|---|
| Use the fixed reference location on the RaptIR sample holder |
The RaptIR sample holder has built-in reference points for transmission and reflection analyses. Select |
|
Match sample scans |
If selected, the number of scans used for the background measurement will be the same as the scans used for the sample. |
|
Set background scans |
Select to choose a different number of scans for the background. |
| Measure background before each region |
If selected, the software will measure a new background before each new region of the sample. For Note that a set of points that use the same measurement settings is considered a single region. |
| Measure background once for entire sample |
With the option selected, a new background is collected only when the measurement settings change. For |
The following are advanced settings:
| Setting | Description |
|---|---|
|
Zero fill |
Interpolates data points between the collected data points. This doesn’t increase the actual resolution of the data, but can smooth out sharp features and improve the line shape of a spectrum. Collect your sample and background spectra using the same Zero Fill setting. Options
|
|
Optical velocity (cm/sec) |
Determines the optical velocity in the interferometer. The default value is determined by the type of detector you are using, and can only be changed on certain spectrometers. |
|
Gain |
Sets the amplification of the detector signal. Higher gain increases the signal but also increase the noise. The optimal gain depends on the experiment. |
|
Apodization |
Apodization refers to a mathematical function that is applied to the single beam data to reduce or remove peak side-lobes that can occur because the interferogram is not an infinite set of data. Strong apodization reduces more noise but can also reduce the resolution of the data and broaden peaks. See"Apodization Functions" for a description of each of the options. |
|
Beamsplitter |
If your instrument has multiple beamsplitters installed, you can select one of them here. If you have the the ABX installed on your spectrometer, configure the ABX first and select your beamsplitter to use here. |
|
Sample spacing |
Sample spacing refers to how frequently the interferogram is sampled. Lower sample spacing settings allow you to measure a more extended frequency range, and higher sample spacing settings are useful when measuring with very fast optical velocities, when the mirror is moving too quickly for the IR measurement to keep up.
|
| Mapping speed |
High speed is good for most applications, but you may want to try Normal if you need to improve the quality of your data. |
|
Detector |
Displays the currently installed microscope detector. |
|
Range limits |
Sets the limits for the range of frequencies, in wavenumber, included in the collected spectrum. |
|
Prompt for session name |
If selected, the software presents a prompt to enter a new session name at the beginning of every new session. |
|
Atmospheric suppression |
Suppresses the effects of water vapor and carbon dioxide on the spectra you have collected. In general, it is better to control for atmospheric conditions using a current background spectrum. If you measure the background frequently or if atmospheric conditions change slowly, there is no need to use this feature. Use this feature only if you measure the background infrequently or when atmospheric conditions change rapidly. |