Using AI1310, AS1310 Autosampler in High Throughput Mode
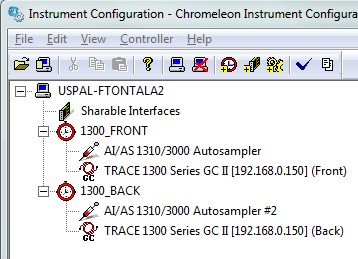
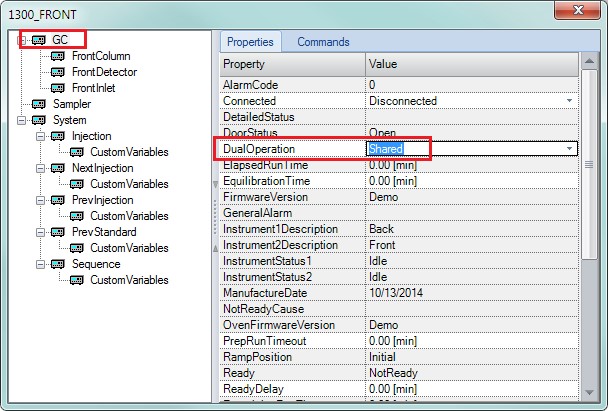
Mount two AS1310 samplers on the GC, each connected separately to the PC. Connect the samplers to each other with a sync cable and to the GC with a Remote Start "Y" cable. Configure the samplers in Chromeleon, creating separate instruments for the front and back, then link them to the TRACE 1300 GC. Ensure proper communication and set the GC to "Shared" mode. Create and synchronize instrument methods and sequences for high-throughput operation.
Issue
How to use AI/AS1310 Autosampler in High Throughput mode
Environment
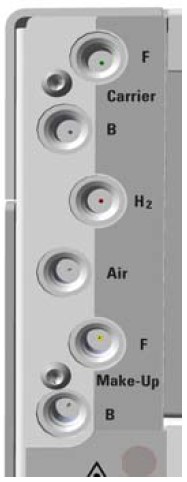
- AI 1310
- AS 1310
- Chromeleon
Resolution
|
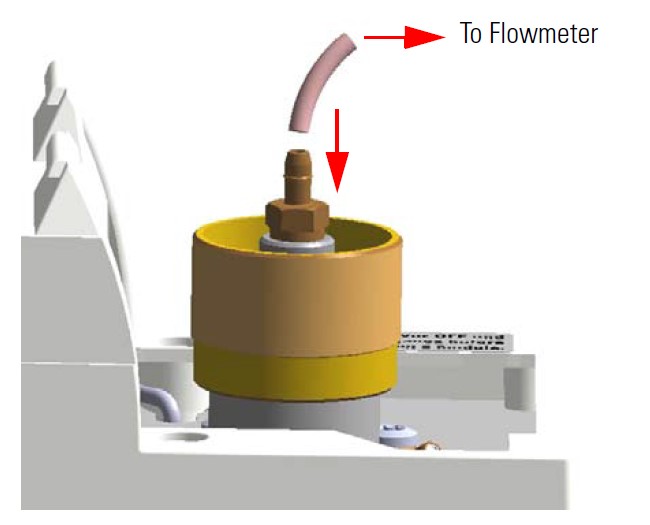
Step 1: Hardware configuration:
|
Figure 1: Connection
|
|
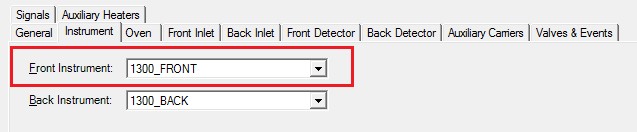
Step 2: Software Configuration:
|
Figure 2: Instrument Configuration
Figure 3: 'Instrument' Tab
Figure 4: Instrument Configuration
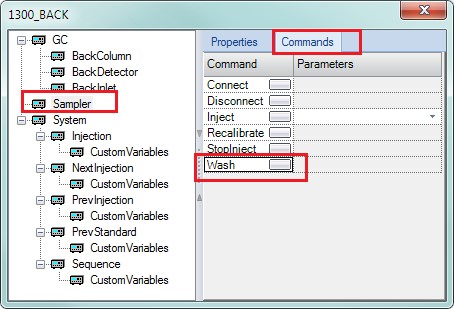
Figure 5: GC Washes
Figure 6: Dual Operation Properties
|
|
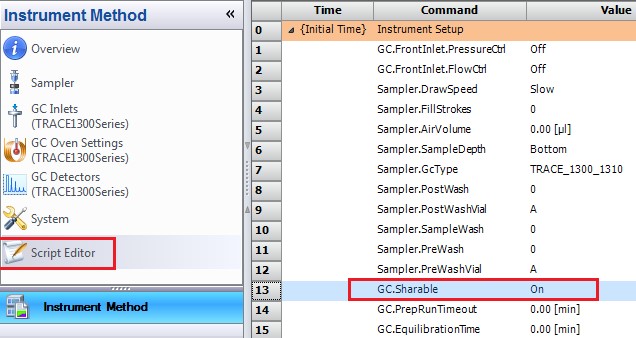
Step 3: Instrument Method Setup: Front Instrument Method:
Back Instrument Method:
|
Figure 7: Instrument Method
|
|
Step 4 : Sequence Setup
|
Limitations
- Rebooting the PC and/or power-cycling the GC can cause the ‘Dual Operation’ property of the GC to be reset to ‘Front Only’. Always be sure to check the property before submitting Gemini mode sequences
- Because the two sequences are running on a shared GC, any hardware errors or actions that cause one sequence to abort will result in both sequences being aborted
- Gemini Mode is fully supported using the Chromeleon “SE for GC” license.
Attachment(s)
| File | Last Modified |
|---|---|
| HTM figure 07.jpg | January 16, 2022 |
| HTM figure 06.jpg | January 16, 2022 |
| HTM figure 05.jpg | January 16, 2022 |
| HTM figure 04.jpg | January 16, 2022 |
| HTM figure 03.jpg | January 16, 2022 |
| HTM figure 02.jpg | January 16, 2022 |
| HTM figure 01.jpg | January 16, 2022 |